Use of Twitter, Linkedin, Facebook, Instagram or your product icon as pushpins is another smart way to analyze your Dynamics 365 CRM data on maps. In our previous blog we have shown you how you can bring your own icons for pushpins to help you in visualization and to categorize them for better analysis. In this blog, we will see how the entire process of uploading your own icons for pushpins is done and tips to assign multiple colors to these uploaded icons (pushpins).
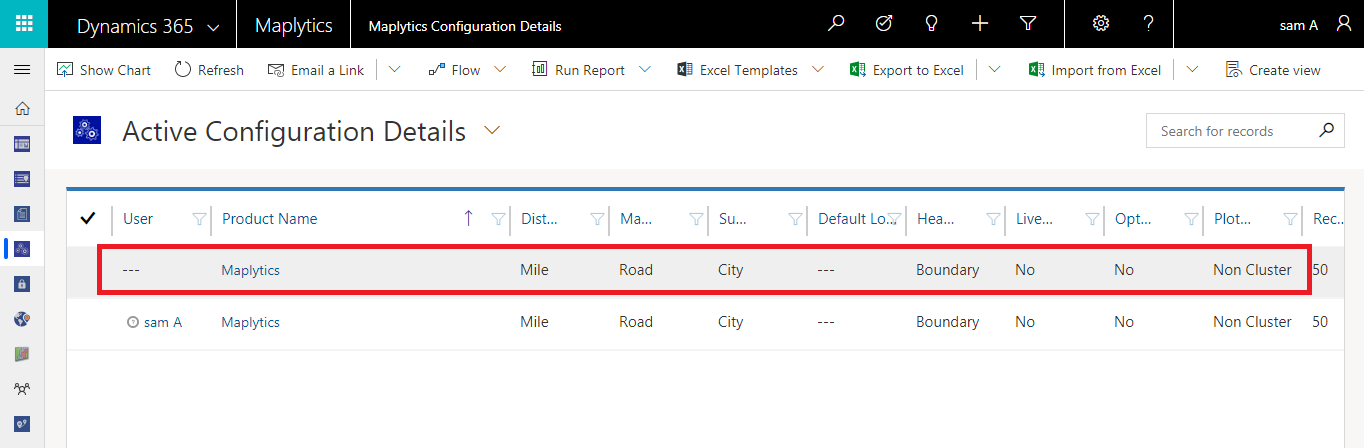
For bringing your icons for pushpins you need to go to Settings > Maplytics Configuration Details > Open Default Configuration Record
Open the records where User is not defined as shown below.
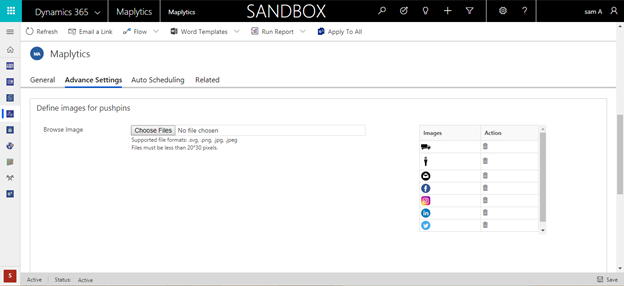
Once you open the default record go to Advance Settings > Define images for pushpins then browse and upload your desired icons for pushpins. We have uploaded icons for different social media handles but you can upload your preferred pushpins here.
If you want the same pushpin with different colors for e.g. you have to categorize vehicle with different colors, then you need to upload different pushpins all the time. But, here we will show you the trick to apply different colors to a pushpin which will help you to upload multiple icons with different color. However, for this you need .SVG format pushpin.
You can either download it from free site or you can create your own pushpin. While creating or downloading any pushpin, the size of the pushpin should be equal to or less than 20 px in width, and 30 px in height. Once you have .svg pushpin, right click and open the same pushpin in notepad which will be shown as depicted below.
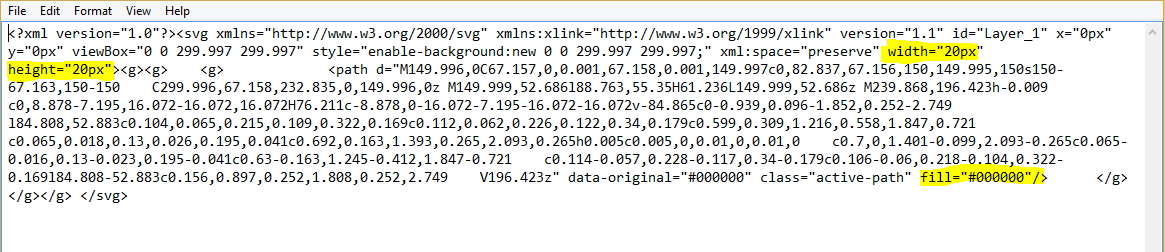
Now you need to set the color for pushpin as “@pinColor” in the value fill as shown below. Also, you can set height and width once you open .svg file in notepad. After setting the color and size, you can save this file in same format.

After saving just upload the .svg file into your CRM as mentioned before to create pushpin.
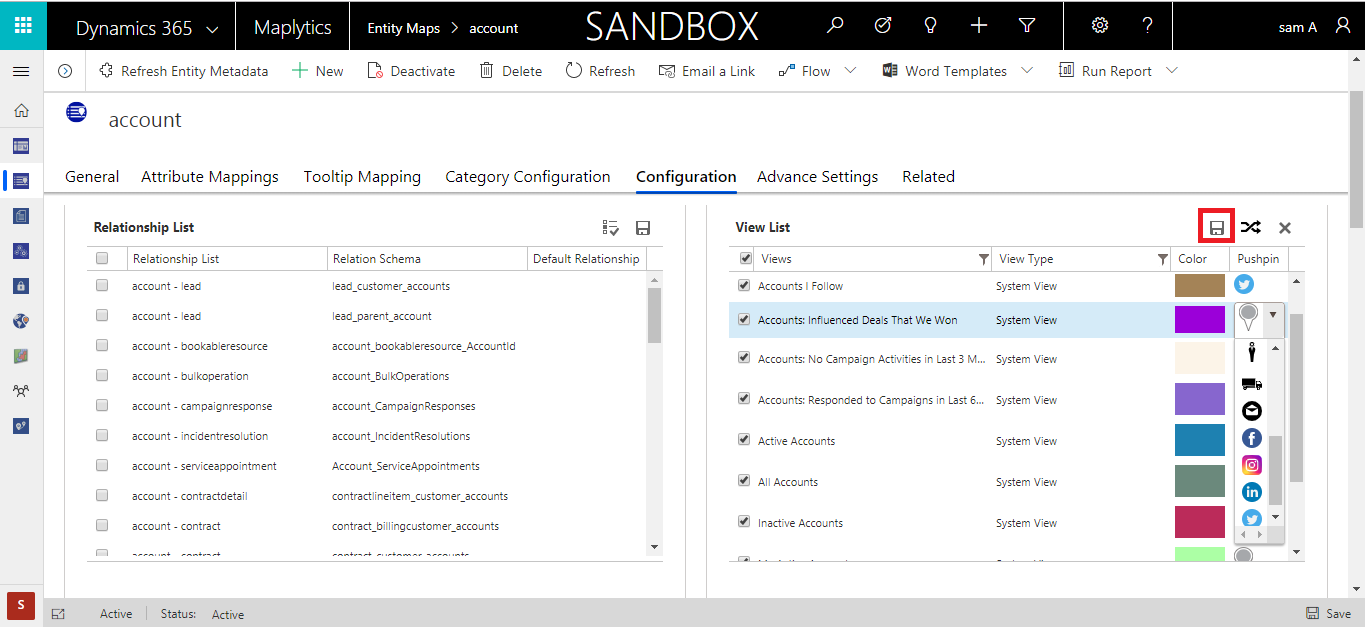
Till now we have covered the steps to create pushpins in Dynamics 365 CRM. Now you need to assign this pushpin to your view or categories. First we will see how you can assign your own pushpin to a View.
Go to Settings > Entity Maps > Open Required Entity Record > Configuration > View Configuration Section > Select your pushpins > click on save as shown below.
If you wish to categorize entity records based on any attribute, you can create a category, and select the pushpin where you can select your own color. Here are the steps to create a Category:
Go to Settings > Entity Maps > Open Required Entity Record > Category Configuration > Add New Entity Category
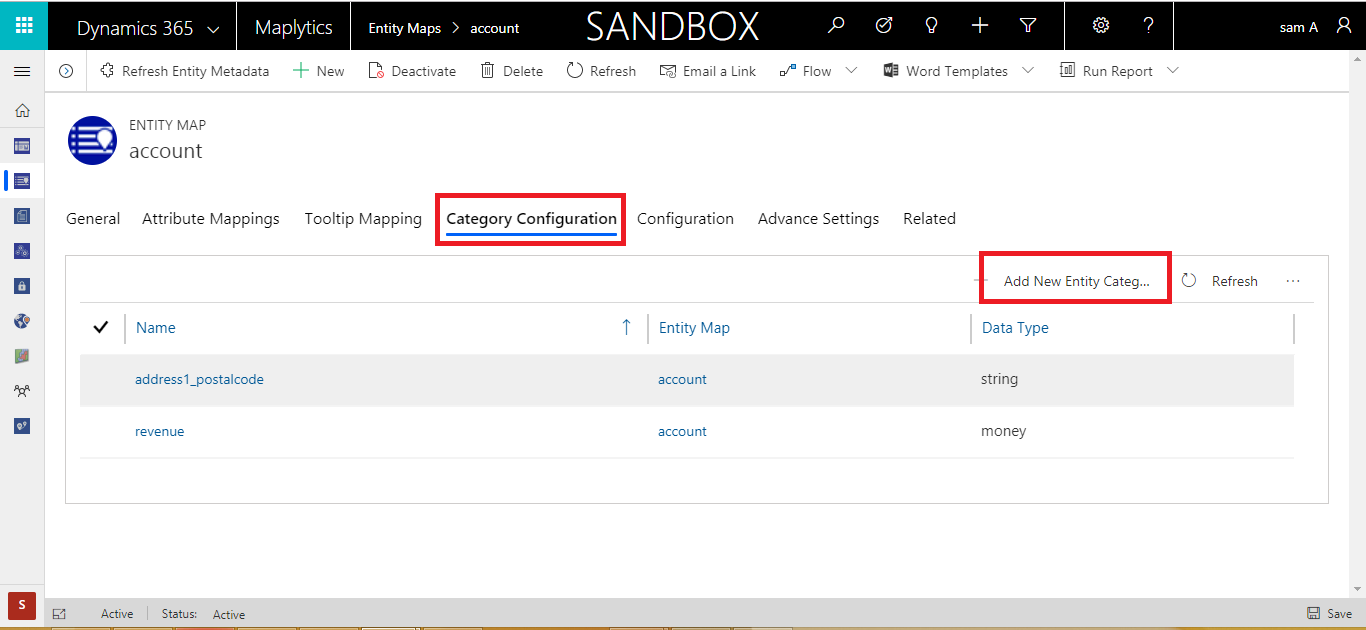
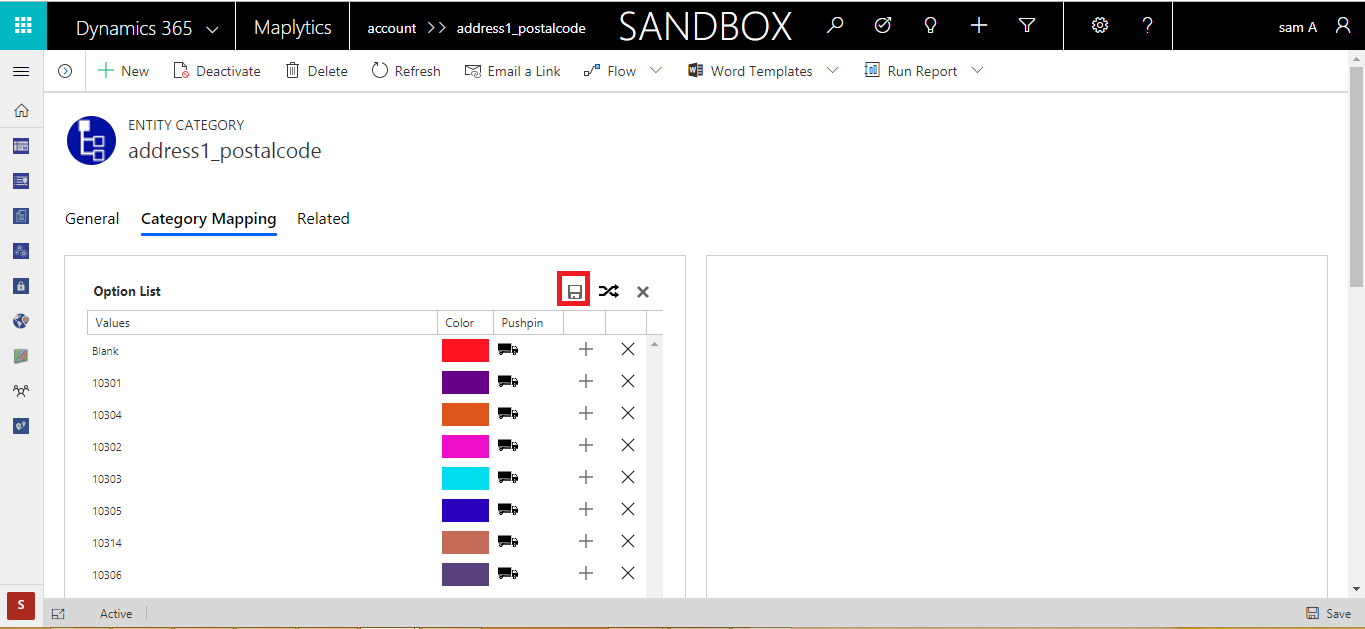
After clicking on Add New Entity Category a new window will open, select the attributes which you want to categorize and click on save to create a new category. After saving the records, go to Category Mapping tab as shown in below screenshot and select required pushpin and assign different colors. Once you assign color and pushpin click on save.
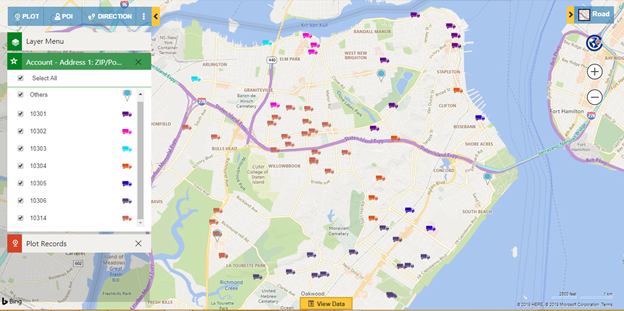
Once you customize your pushpins in Maplytics configuration settings and apply this as per your requirement, you can easily visualize them on map.
Thus you have seen how by uploading .svg format icons for pushpins you can use one icon with multiple colors for different views and categories.
Well, this is just one of the small features to demonstrate how with your feedback we are making Maplytics more user friendly and visually strong to help with ananlysis of your Dynamics 365 CRM or PowerApps data. Btw, have you seen our last blog about our upcoming release for navigation with Waze App, so you now have both Gooogle Maps and Waze app to assist your Field Sales or Service team members for their turn-by-turn navigation.
Don’t miss the FREE TRIAL of 15 days. Download it from Website or Microsoft AppSource!


