Quick routing is a major requisite for any organization that works on field. By being able to send the reps to their destination with an optimized route, organizations are able to generate more businesses in lesser. Organizations dealing with logistics need to send heavyweight vehicles with goods and therefore, need to follow a different route than lightweight vehicles such as cars. Dynamics 365 CRM users usually deal with bulk of such truck routing necessities that cannot follow same routes as followed by cars.
Therefore, to plot optimized routes for trucks we have come up with another powerful truck routing feature in Maplytics April 20 release. As the name suggests, truck routing plots routes for trucks that generally navigate through highways or distinct paths than lightweight vehicles. Let’s understand this better with the help of an example.
Suppose Sarah is the head of logistics department who looks after the goods delivered to different destinations. The goods are sent to distant locations by trucks and therefore need to follow unique routes that are followed by trucks. For this, Sarah cannot allot simple GPS routes to the truck drivers since they may get stuck on those routes being followed by every other vehicle and also they might not be safe for lightweight vehicles. Hence, Sarah switches to Maplytics to follow optimized routes on Maplytics that are designed specifically for trucks.
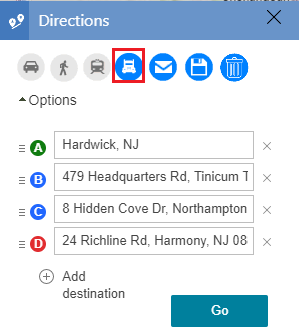
So, to plot routes for the truck Sarah needs to define the locations of the goods delivery as the waypoints. After she has selected the waypoints, she needs to opt for the truck routing where she can specify the details about the truck in order to plot the truck route specific to the truck type. For this Sarah clicks on the truck icon after entering the waypoints:
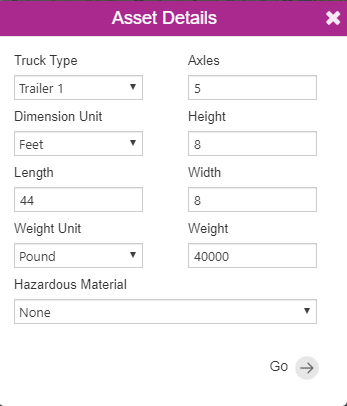
As soon she clicks on the truck icon, the Asset Details card pops-up. She needs to enter the following details to plot the optimized truck route on map:
- Truck Type: Here, Sarah can directly select an asset which has all the information about truck’s dimension or she can select custom to enter her personalized details.
- Dimension unit: This determines the unit in which dimensions are measured e.g. meter or feet.
- Axles: Number of axles in the truck.
- Height: It is the height of the truck.
- Length: This is the overall length of the truck.
- Width: This determines the width of the truck.
- Weight Unit: The unit in which weight is measured e.g. kilogram or pound.
- Weight: Total weight of the truck.
- Hazardous Material: This specifies if the truck is carrying some hazardous material e.g. explosive, corrosive, gas, etc.
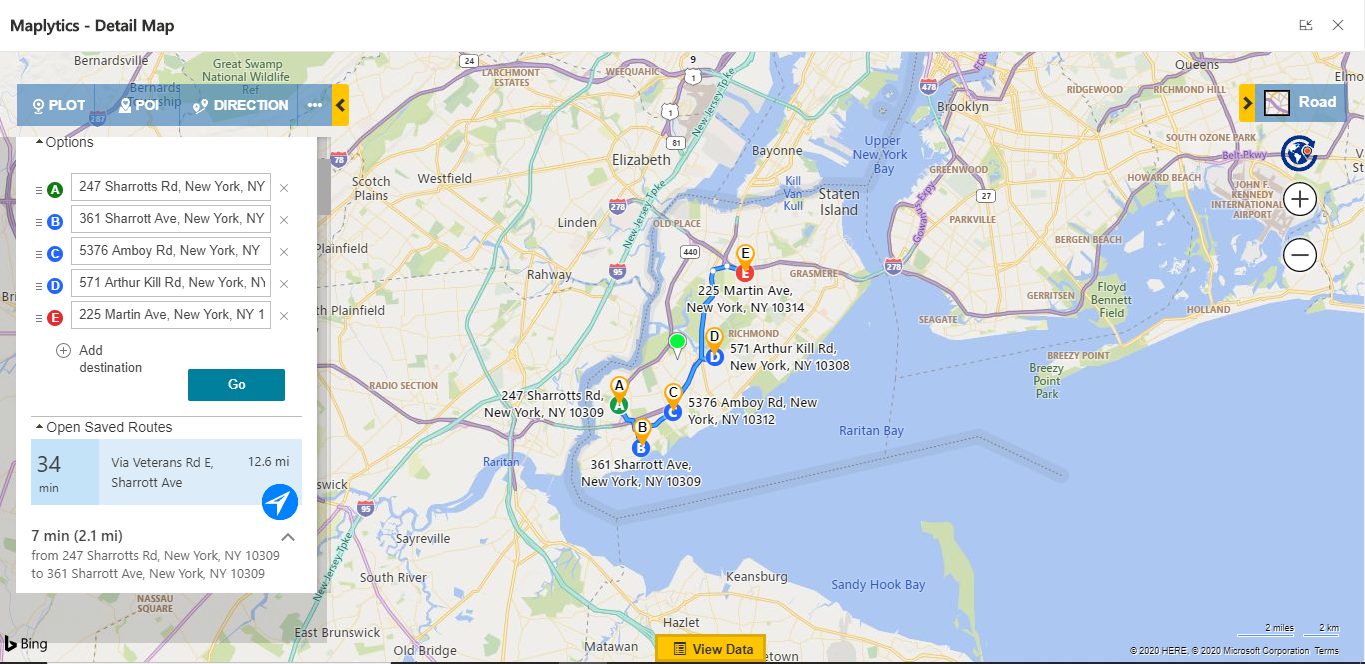
After entering all these details she clicks on Go after which the route for the truck is plotted.
Therefore, you have seen how easily with the help of Maplytics Sarah is able to define the truck route which can be easily followed on map. At any point in time more waypoints can be added in the route. This prevents congestion on roads where both heavyweight and lightweight vehicles travel together.
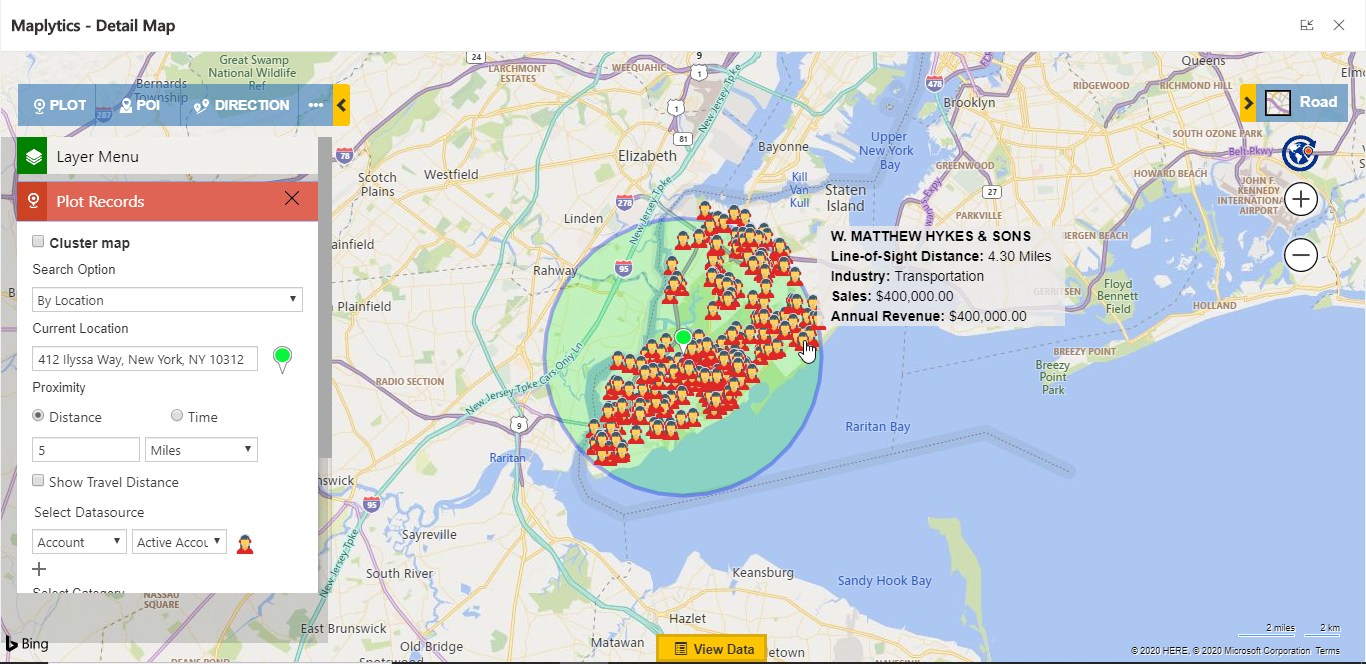
With the help of truck routing, users can also find the shortest travel distance for trucks on map between two points with proximity search. For this, while plotting records, user needs to select Show Travel Distance and Select Asset. Make sure to select Asset else the Shortest Travel Distance via lightweight vehicles is shown.
Thus, you have seen how the Shortest Travel Distance via truck is shown since Asset is selected.
If you too want to activate truck routing for your business purpose contact us crm@inogic.com.
You can also explore Maplytics for a free trial of 15 days. To activate trial license download the app from our Website or Microsoft AppSource.
Till then, Happy Mapping and Stay Safe!

