Maplytics (Microsoft Preferred App on Appsource) is a one stop app for all teams be it Sales, Services, Marketing or Managers. In every release we keep on adding more and more features for all these teams. Ofcourse, the maximum feedback that we receive is always for Field Sales and Service reps on how the managers are able to plan and monitor their schedule, their visits, their turnaround closely and regularly. We add more concepts required by different industries whose main focus is to increase efficiency of reps on field and give more data and hence more power to the managers for managing them.
Today we will be discussing another use case from the service industry to understand the usage of Maplytics features in their daily activities. Chris has a business named ‘Securpact’ which provides the service of tracking the visitors on any sites using Ids. They provide the customers with ids for the visitors which will track the visitors real-time locations on various sites without any hassle. This ensures the secure entry and exit of the visitors and also the safety of the visitors in case of any emergency evacuation situation.
Chris has formed a team that manages the visits on sites of their customers. Chris needs the team to be well aware of all the visits happening within the day, week and the month. As the team has grown over the years, he has implemented big display screens to show this information to the team. Chris uses Maplytics to show the visits scheduled on the display screens. The team should be able to view the site visits and will further open the respective locations under their responsibility on their own computer screens to check if any need is there or any emergencies occur and thus should be able manage the site visits successfully. Also, to view the area of Staten Island, Chris has installed the display screens in a Portrait mode so as to get a better view. Now let’s understand how Maplytics helps Chris to show the required visits on the screens in the Portrait mode.
First Chris has to create a template with a dashboard view saved in it. The dashboard will provide the site visits for today, week and the month. Further Chris will use this template to visualize the same on display screens. To do this, Chris can follow the steps mentioned below:
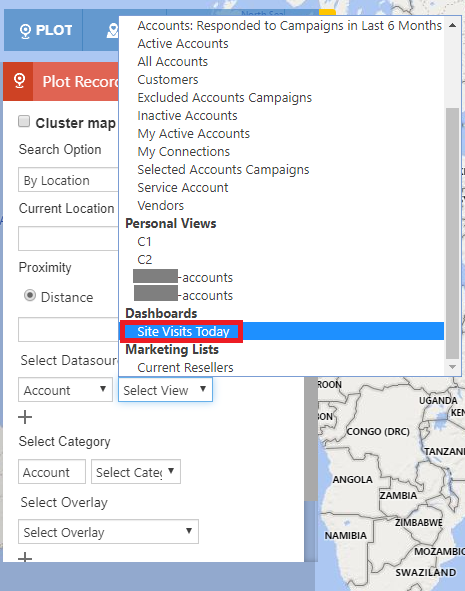
Go to Detail map > select the required Entity and dashboard view > Click on the search
Note: Chris has already created three dashboards that will give him all the Site Visits plotted for today, this week and this month. These dashboards will provide the updated results based on the respective days, weeks and months. To know how to create a dashboard please refer this blog.
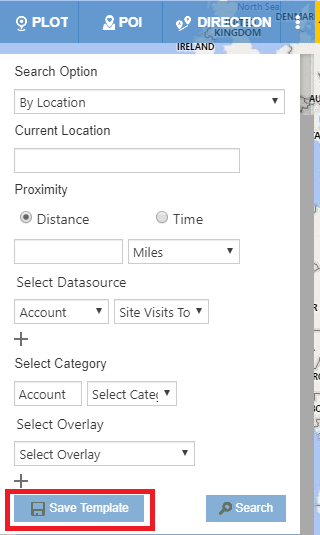
Here, we have used Accounts as the Datasource and the ‘Site Visits Today’ as the dashboard view for an instance. After plotting the dashboard view on the map, click on ‘Save Template’. This will save the dashboard view in the template.
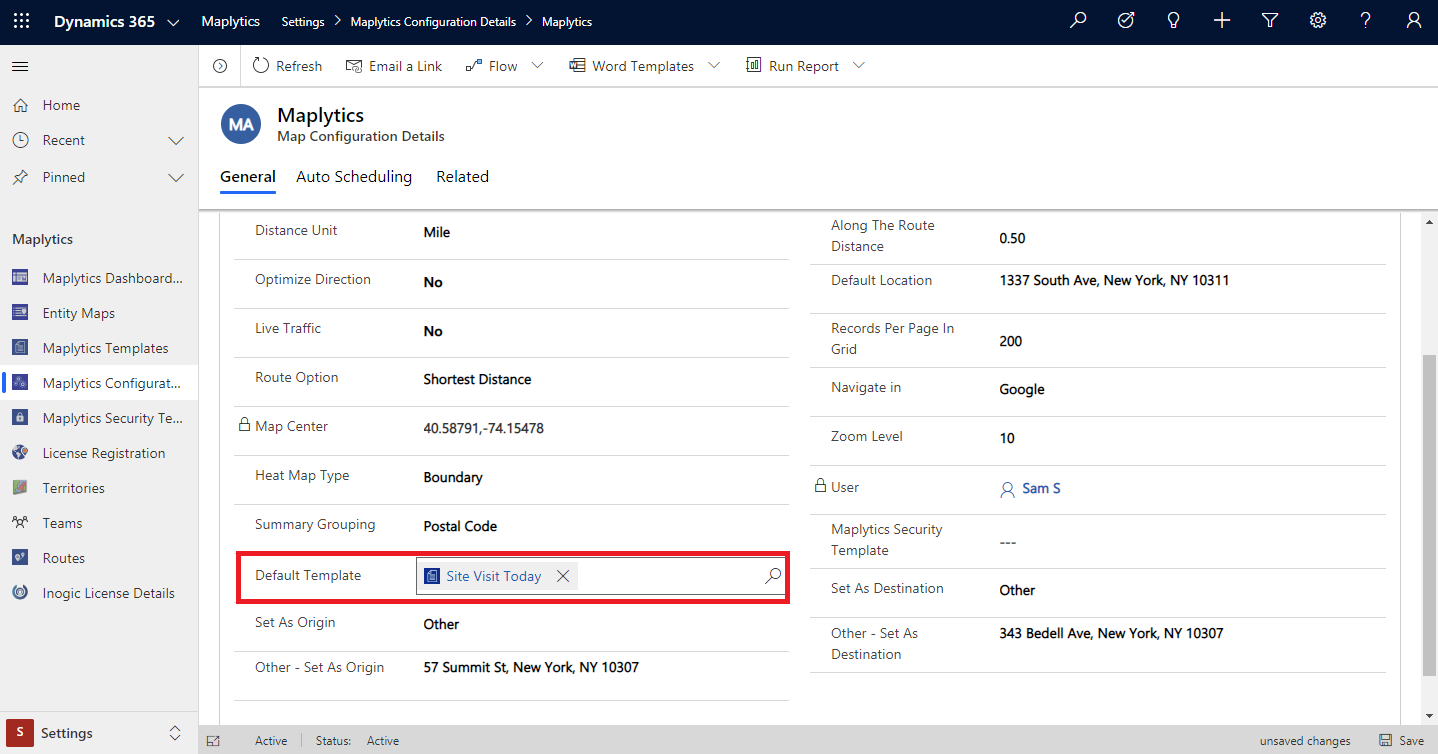
After the template has been saved, Chris has to set this template as the default template. To do this, go to Settings > Maplytics configuration detail record > User configuration detail record > Set this template as the default template.
Now that the Default template has been set. Chris can save the Detail map within the site map to view the required results in the display screens in Portrait mode. Chris can follow the steps mentioned below for the same.
Go to the Advanced settings as shown below.
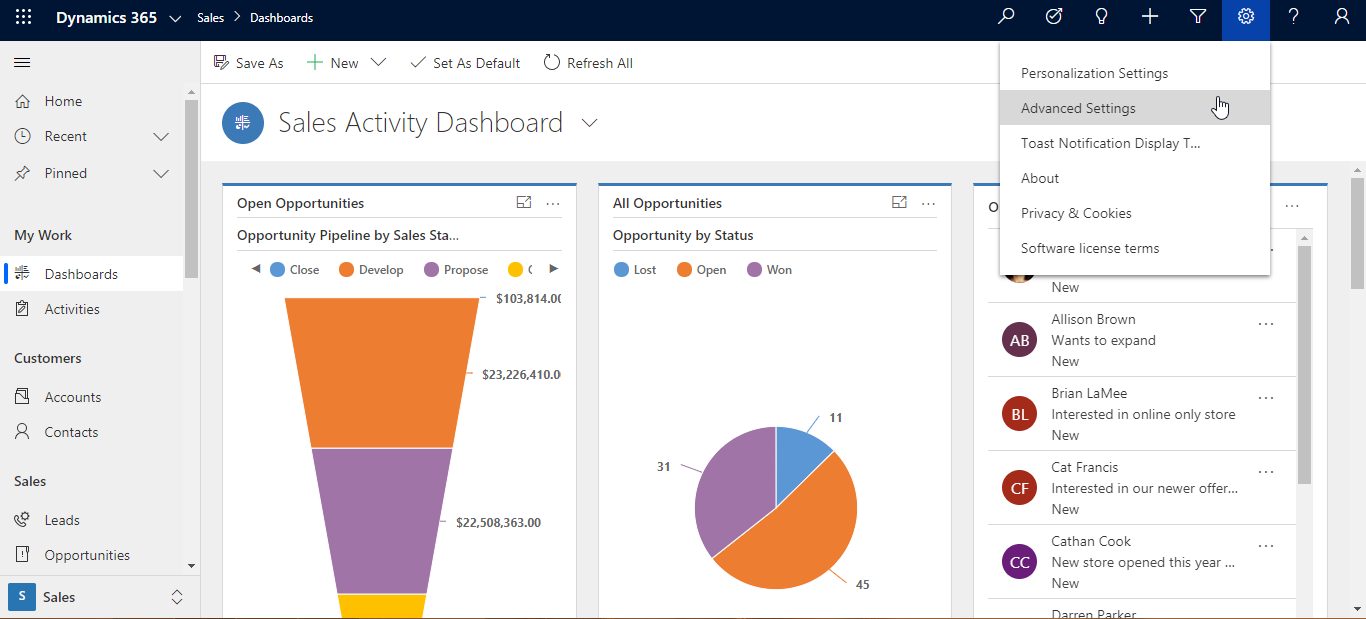
In Settings > Select Maplytics solution.
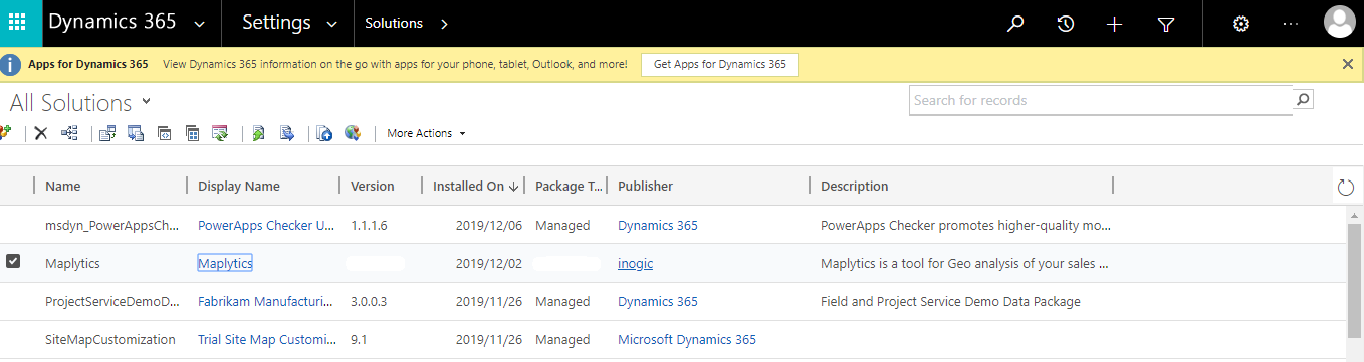
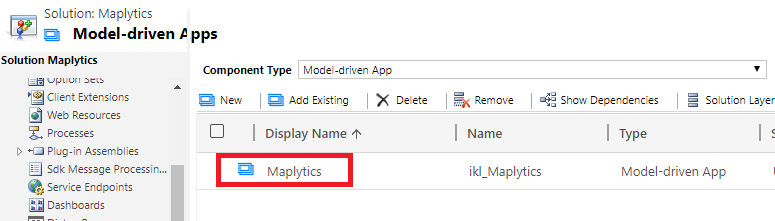
Open the Maplytics solution, select Maplytics App from the Model-driven Apps component as shown in the screenshot below:
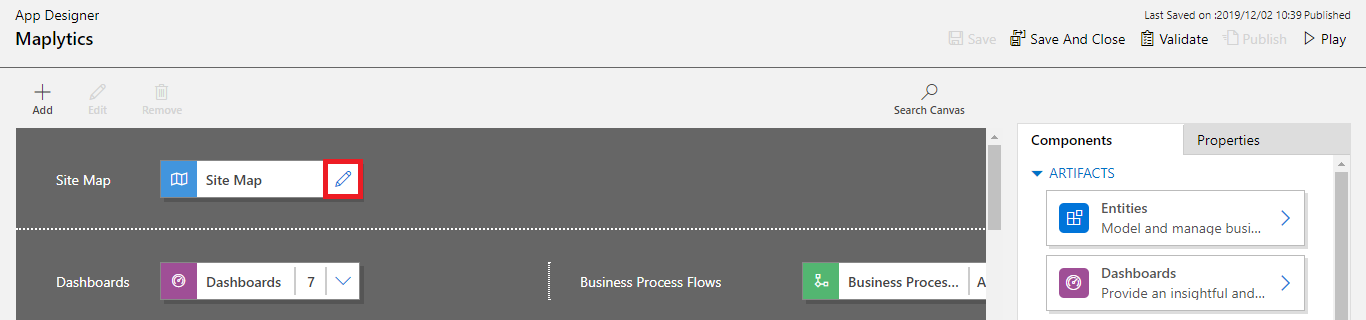
Within the App designer, click on the pencil icon to edit the Sitemap:
Drag/Click on Add button to add the new sub-area as shown below:
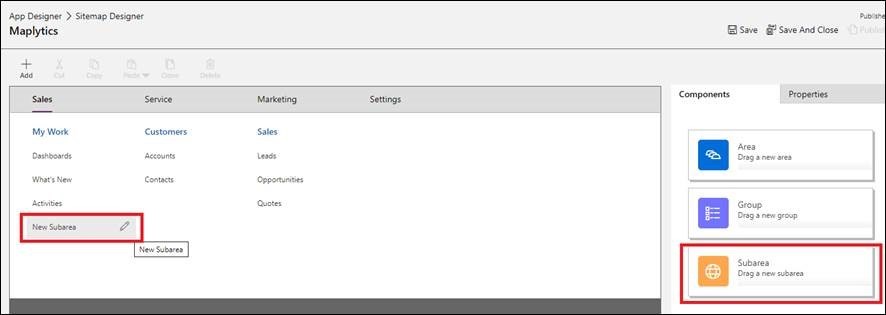
Edit the newly added sub-area in the Properties as shown below.
Type: Select “Web Resource”
URL: Select “Maplytics – Detail Map” web resource
Title: Give the title as “Site Visits Today”
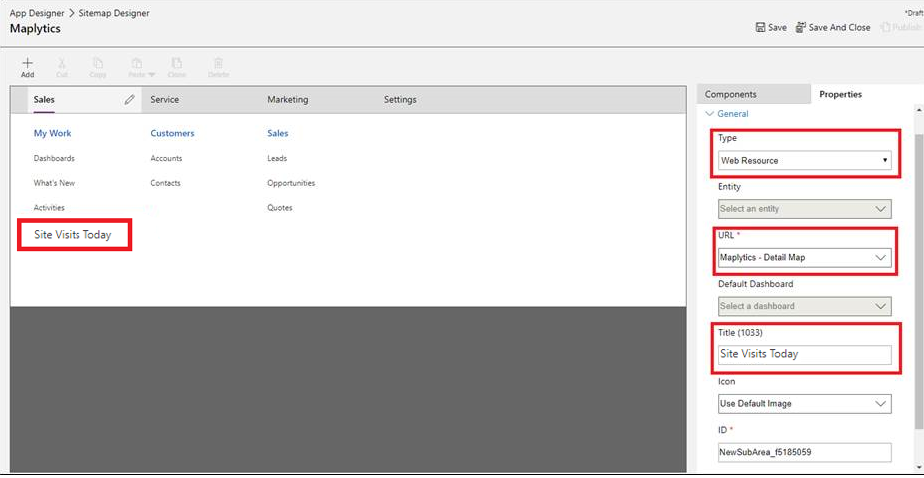
Now, Save and Publish the changes.
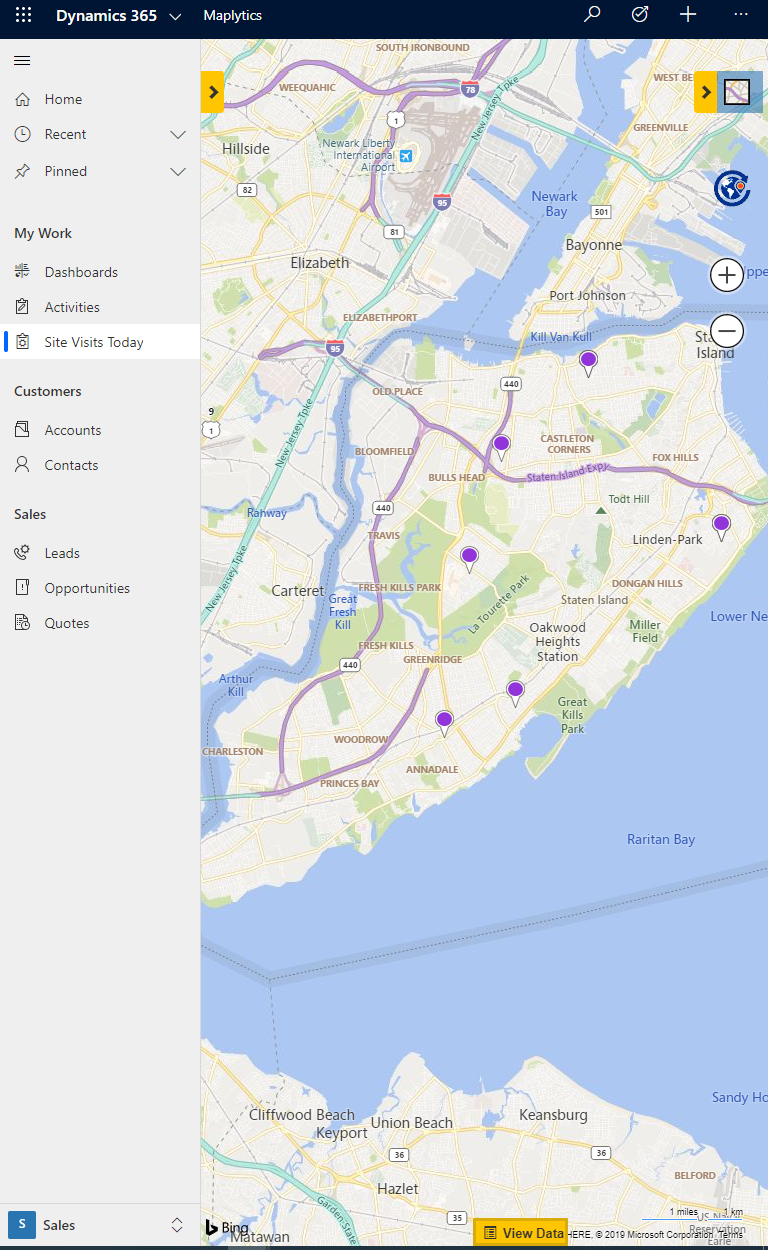
Once Chris has followed the steps mentioned above, he can go to the Maplytics App to see ‘Site Visits Today’ in the site map below. He can simply select the Site Visits Today and visualize the required results on the map.
Similarly, Chris can also add Detail maps to show the Site visits for the week and Months. He can also follow the same steps as above to add the Heat Map in the site map if required.
Note: To add Heat map in site map, select Maplytics Heat map Web resource in the URL.
In this way Maplytics helps the team with an easy visualization of the field visits for today and they can further open the respective locations on their computer screens and manage thier site visits. Teams can also plot the required routes to the site location from their current location using Maplytics Routing optimization and can reach there using quickly using the turn-by-turn navigations with Google Maps and Waze App.
Start utilizing Maplytics to simplify your daily activities in your organization. Install a free trial of the latest Maplytics version from AppSource directly.