It’s been quite an exciting journey for your favorite Maplytics within Dynamics 365 CRM and PowerApps, we recently saw the new April 20 release with some cool new features like truck routing, PCF Controls, and many more making this a must-have app within your Dynamics 365 CRM.
We have been often asked about prerequisites for getting started with Maplytics and have covered a lot of these in our articles on our InfoCentre and informative videos. In our last post, we covered Steps to Upgrade or Activate a Free Trial of Microsoft Preferred App – Maplytics from AppSource. Today in this post let’s recap and move a step ahead on how to get started with Maplytics in your Dynamics CRM.
Installation
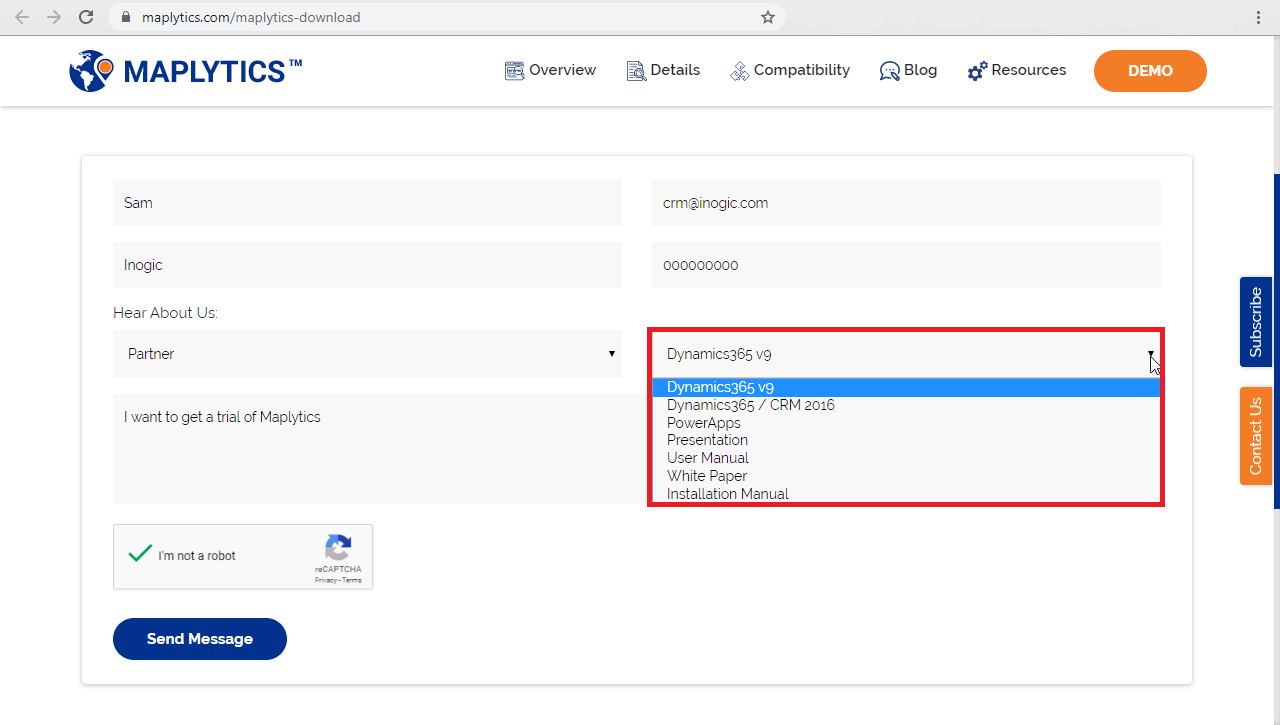
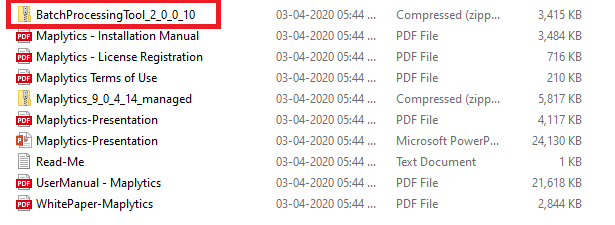
The first and foremost step is to install the Maplytics solution. You can download the zip folder for Maplytics solution from our Maplytics website as per the Dynamics 365 CRM version selected. You can download the instruction manuals, presentation, and white paper as well from this webpage.
You can also choose to download the Maplytics solution folder for PowerApps by selecting PowerApps within this list. To import and activate the trial in PowerApps, please refer to this blog.
You can also install Maplytics solution directly in your Dynamics 365 via AppSource. To install Maplytics from AppSource, please refer to this blog.
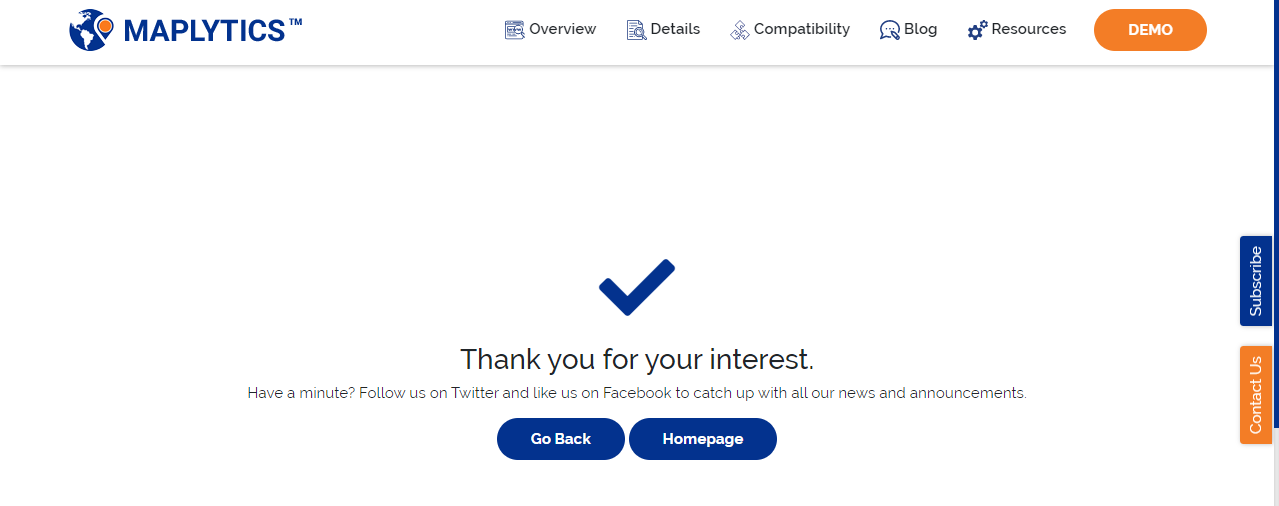
This will start the download of the folder of Maplytics solution and you will see the screen below.
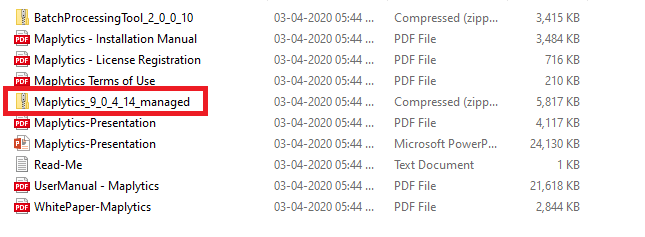
Once you have downloaded the zip folder for Maplytics solution, you need to extract the downloaded folder and import the managed solution into your Dynamics CRM.
Activate the license
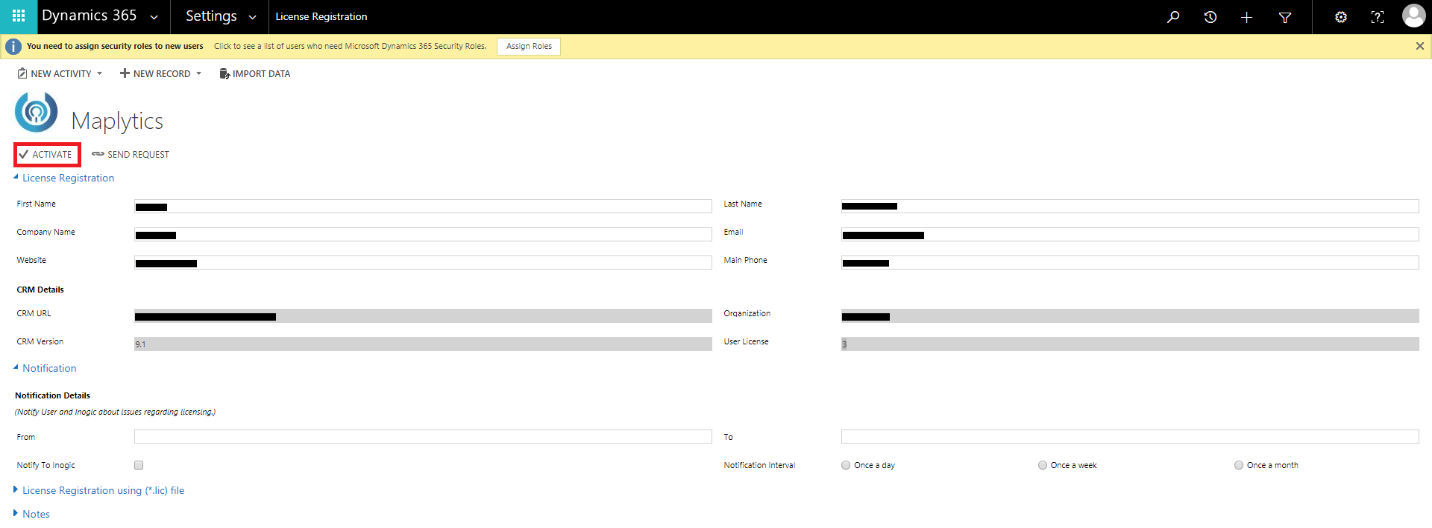
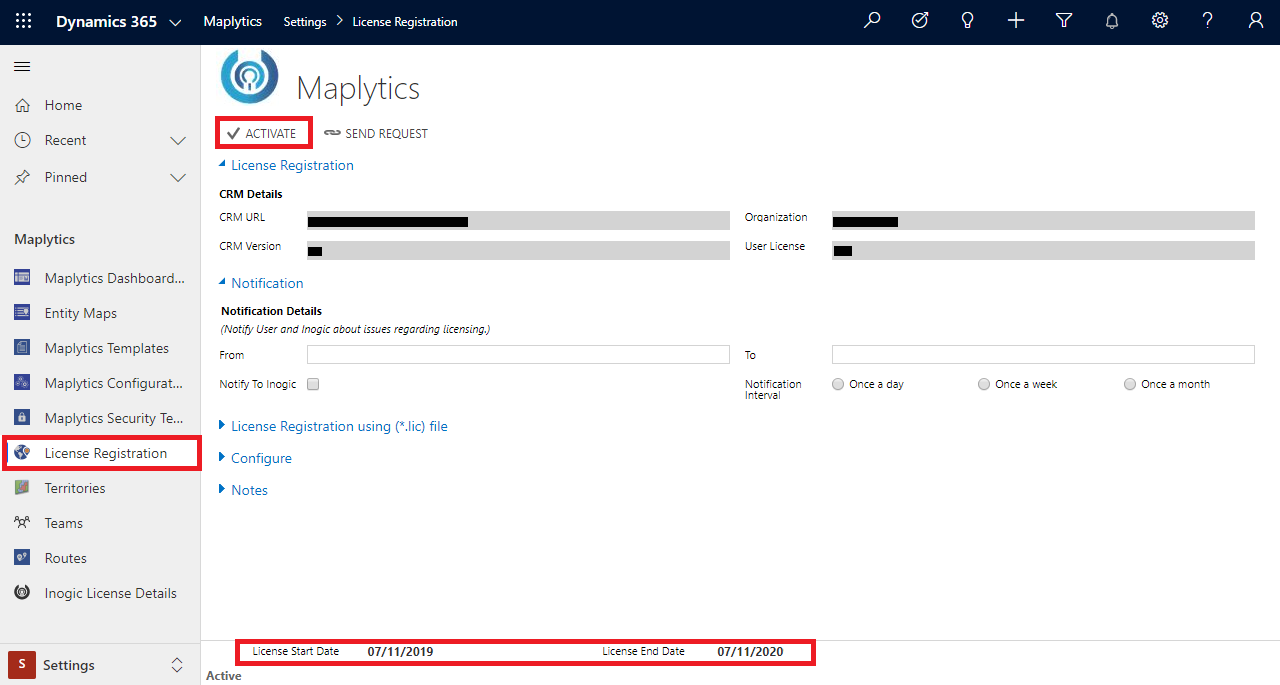
After installing the solution, you need to activate the license. To do that, go to Maplytics App > Settings > License Registration > Enter CRM details and click on ‘Activate’. This will activate the free trial of Maplytics.
Note: For subscribed users, this step will update the license as per what we have issued for your Dynamics CRM based on your subscription.
After activation, you will be able to see the License end date at the bottom of your screen.
Configure
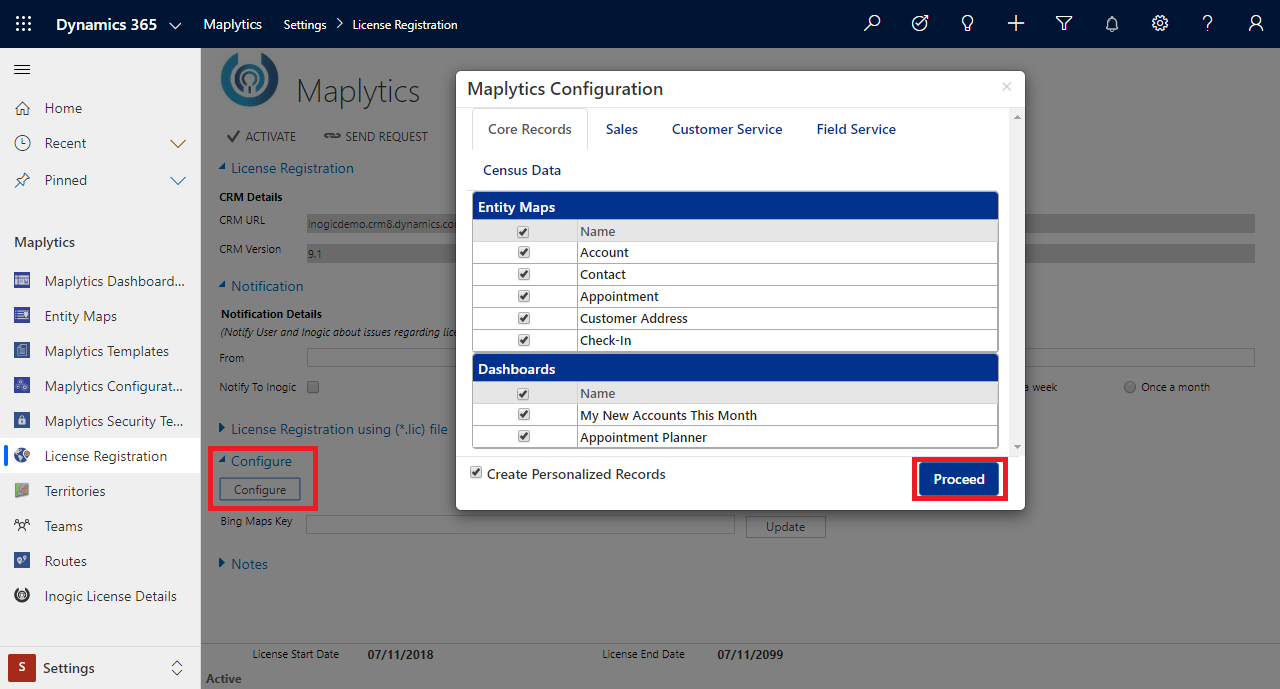
Once you have activated the license, you need to configure Maplytics. To configure, you need to click on ‘Configure’ button on the same page of License registration. You can also reach the page by going to Maplytics App > Settings > License Registration > Configure tab > Click on ‘Configure’. This will create the required entity maps and dashboards within your Dynamics CRM.
Add users to Maplytics team
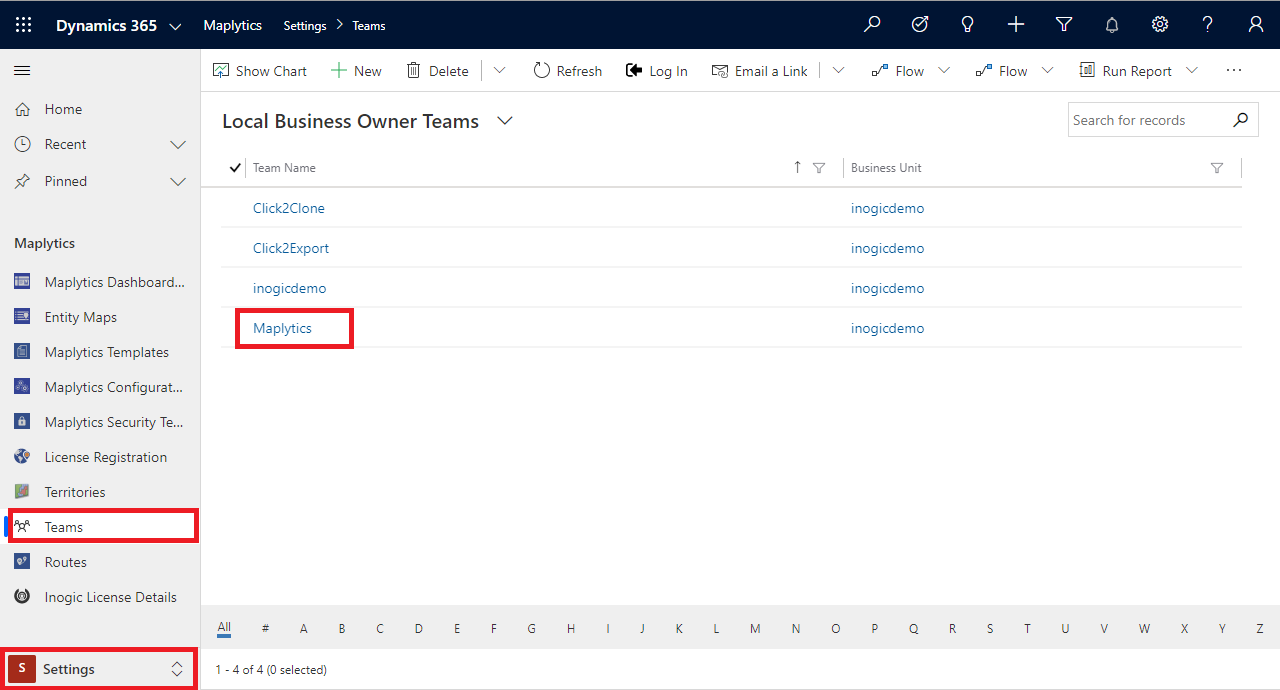
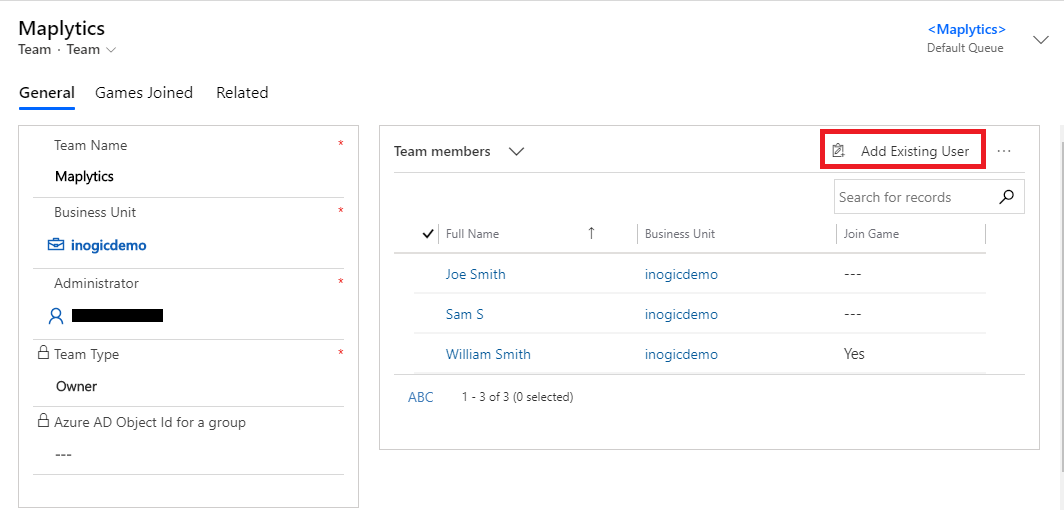
After you have configured, it will take you to the page of Maplytics team. Here, you need to add the users to the Maplytics team, whom you want to provide the access of Maplytics. You can also go to the Maplytics team from the Maplytics App. To do this, go to Settings > Teams > Maplytics team > Add users.
Note: The number of users added to the Maplytics team should be equal to the number of users for which the trial has been activated.
Geocoding
Once you have completed the above steps, the last step you need to do in order to get Maplytics started is the geocoding. In order to plot the records, its necessary that the records are geocoded i.e., the records have the values for geocoordinates (Latitude and Longitude). You can geocode the records with either Batch Processing Tool or the Geocoding Workflow:
- Batch processing tool:
- You can get the Batch Processing Tool within the zip folder downloaded from the website. Extract the zip folder to get the Batch processing tool. Please refer to the blog to know how to use Batch processing tool.
- Geocoding workflow: You can also select the required records and run the Geocoding workflow. By default, the geocoding workflow will be available for Accounts, Contacts and Leads. For custom entities, you need to create a geocoding workflow. Please refer to the blog to know how to create a workflow and run a workflow on selected records: https://www.maplytics.com/configuration/geocoding-custom-entities-dynamics-crm365/
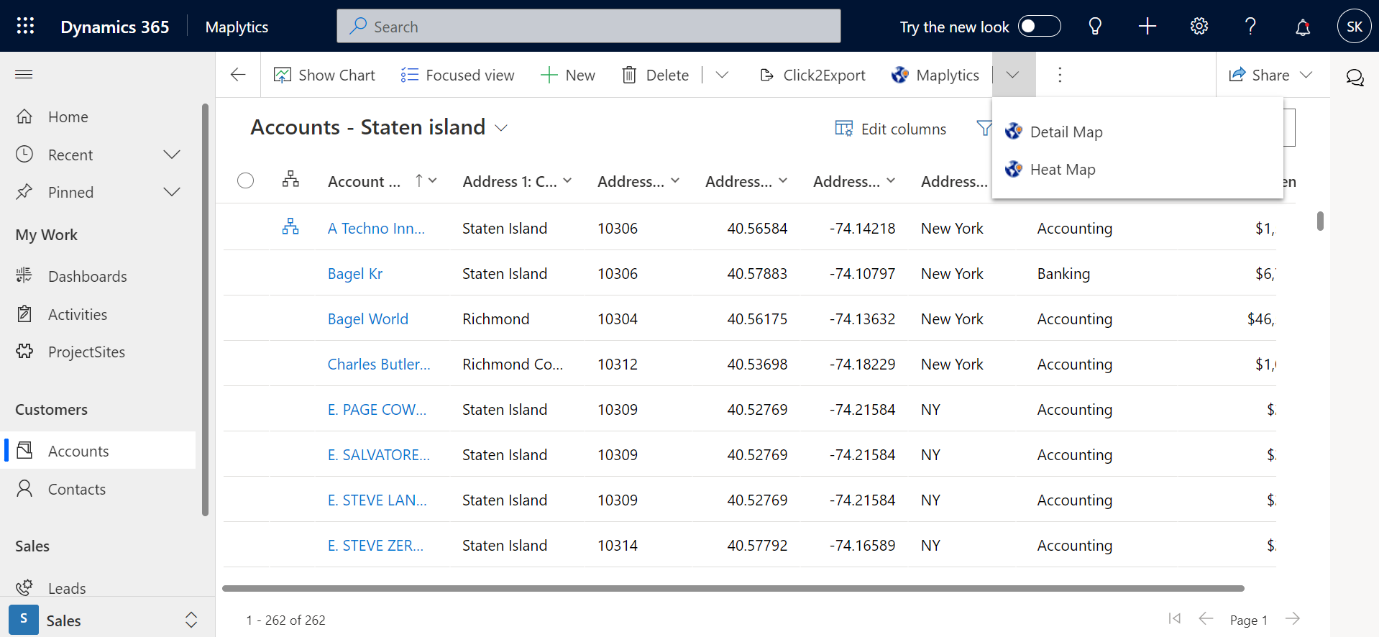
Once you have completed all of the steps mentioned above, you are ready to use Maplytics. You can go to any entity and use the two button, Detail map, and Heat map to start visualising data on maps.
If you want to plot any custom entity, you need to create an entity map and geocode the records as mentioned above. You can further set your preferences within the Configuration Detail records to show in map while plotting records.
Recently we also had a webinar on this topic, you can view that webinar recording here. For a personalized 1:1 demo or to discuss your Geo Analytics requirement within Dynamics 365 CRM, let’s connect via a Microsoft Teams meeting, please email us on crm@inogic.com to schedule a day or time or for purchase of Maplytics license.
Stay Safe, Stay Indoors and Let’s reinvent Location Intelligence!

