Dynamics 356 CRM / Power Apps allows companies with a large amount of data to organize, manage, and streamline their data to supercharge their efficiency and competitive tact. To enhance this functionality, Maplytics gives users the ability to geographically layout this large amount of data on the map to implement and simplify geo-analysis of CRM data. Here, Mass Actions offers users the unique ability to select and perform bulk action on all of the plotted data in bulk.
To understand the complete benefits of Mass Actions, let’s take you through some of its key features.
1. Add to Route: Add Waypoints to Route in Seconds with One-click
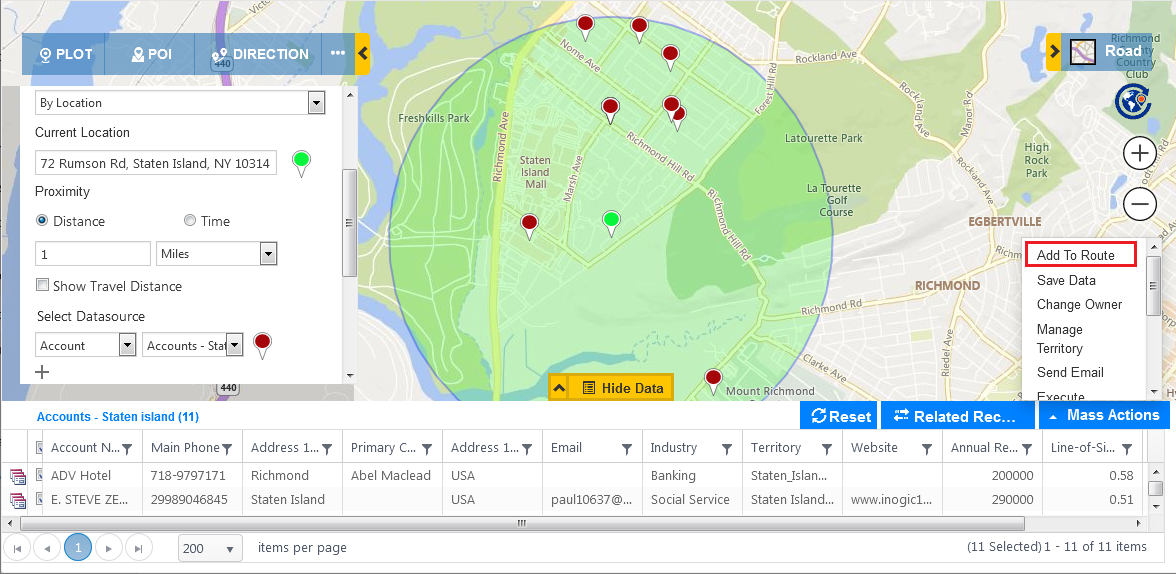
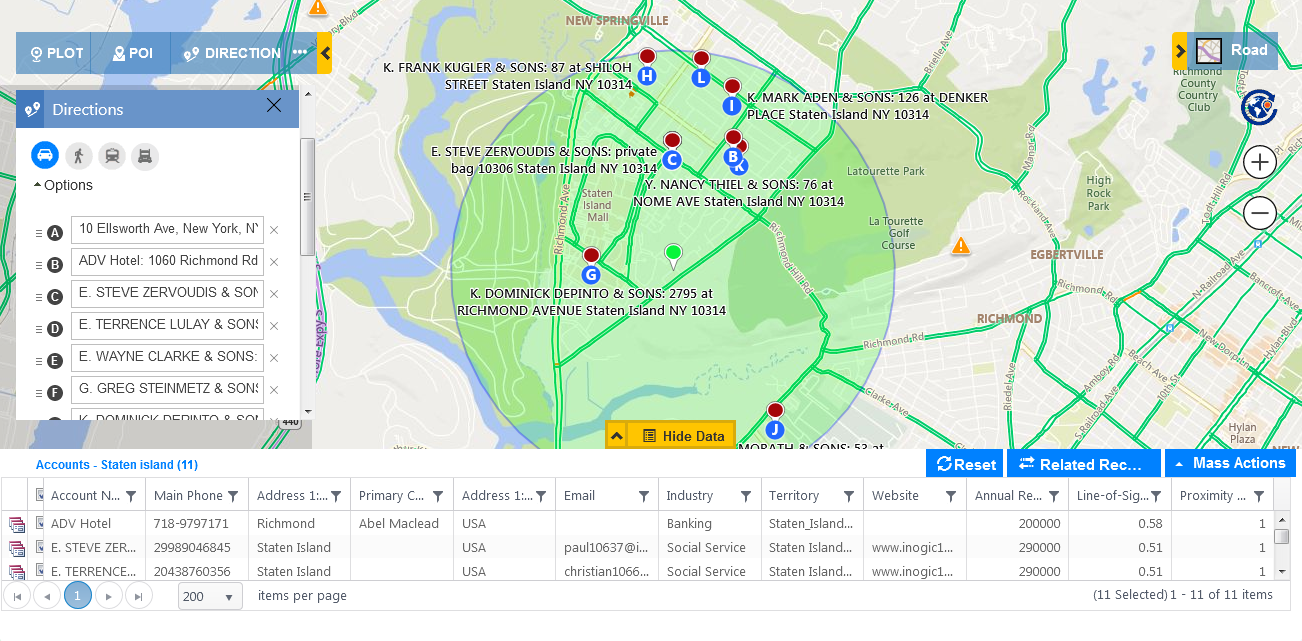
This option adds the selected data points to the route. Add to Route can allow managers or field reps to add routes to their schedule. For example, if a user wants to add routes to their schedule within a 1-mile radius from their location, they can do so in a single click by adding all records plotted within a 1-mile to the route as waypoints using Add To Route mass action. The user can add at max 25 data points to a route.
2. Save Data: Easily Save your Data using Single Click Action
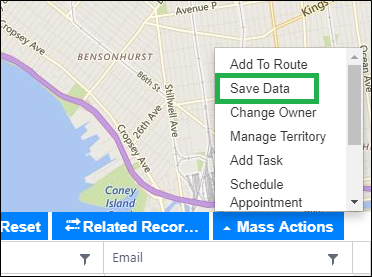
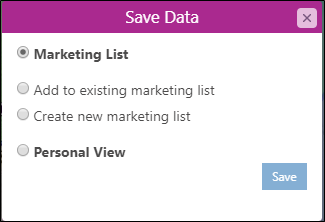
Similar to the situations where you select a set of similar records in bulk for sending emails like follow-ups, reminders, etc. users can also save bulk records as a list for future actions. Users can save a list into an existing Marketing List or create a new marketing list for the plotted records. Users can even save the records as a Personal View in Dynamics CRM for quick access the next time. So users can select the same view or marketing list in Detail map and have the required data plotted directly on the map in a few clicks.
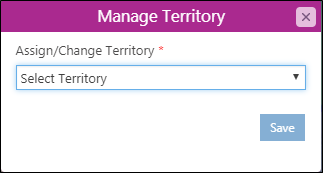
4. Manage Territory: Instant one-click Territory Assignment
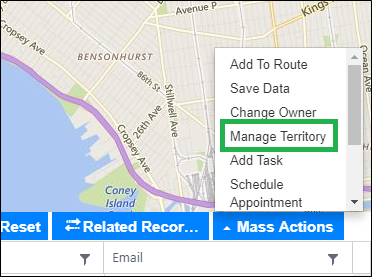
The distribution of territories for plotted data is subject to change. The task of assigning or reassigning territories whenever the changes are required can often be quite tedious. To simplify this task, users can simply use the Manage Territory Mass Action to assign or change the territory assigned to selected records instantly with one click. Apart from using workflows, you can use the Manage Territory Mass Action to set territories manually.
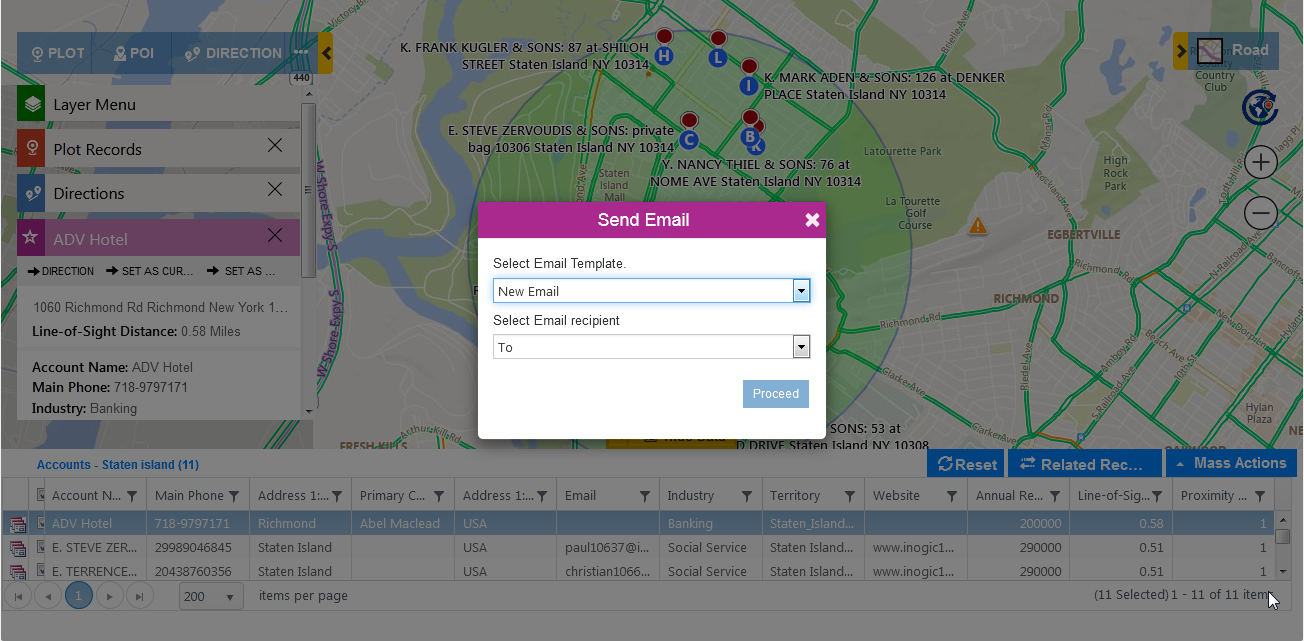
5. Send Email: One-click to Send Bulk Email
Wouldn’t it save so much time to send a reminder email to all the clients that have an appointment scheduled today? Or maybe send a follow-up email to all the clients that had shown interest in your product or service? Or how about sending a service-due email? Or even an invitation to an event. The possibilities and usage are endless!
Maplytics Mass Actions makes bulk emailing a piece of cake by allowing users to send a mass email to their selected records. While sending a mass email, users can select any one of the available email templates or a new email to write their own content. Users can also choose to keep the recipient as To/Cc/Bcc in the email. Bulk emails save time which ultimately translates to saving money.
6. Select Regarding: Set ‘Regarding’ for Multiple Records at Once
If users need to send bulk emails and also want to keep a specific record in the Regarding field in the email, they can select the option of ‘Select Regarding’ to achieve this. To view this option, they can follow the steps mentioned below.
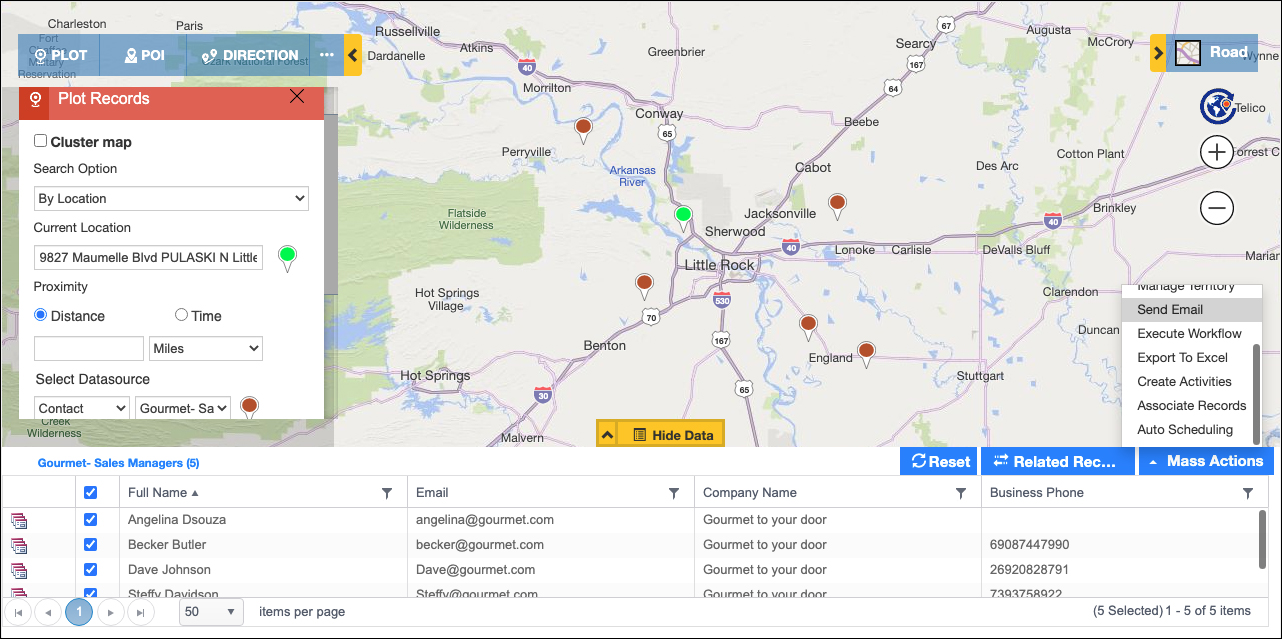
Open the respective record to be set in Regarding field from the ‘Map’ button on the record. In the screenshot below, we have taken an Account ‘Gourmet to your door’ as an instance.
Now plot the required records to whom the mail has to be sent and Go to Mass actions to choose the option of ‘Send email’. Here, we have plotted Contacts.
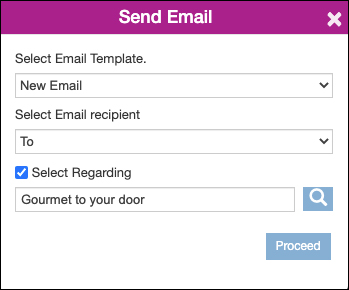
Once clicked on ‘Send Email’ from ‘Mass Actions’, user can select the option of ‘Select Regarding’ and the Account that we plotted earlier ‘Gourmet to your door’ will be set by Default within the Regarding field.
Note: This option will be visible only if the map has been opened using map button on a record.
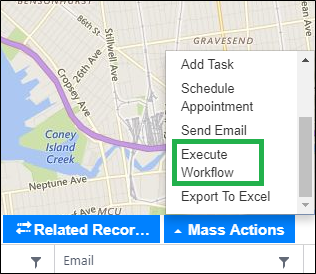
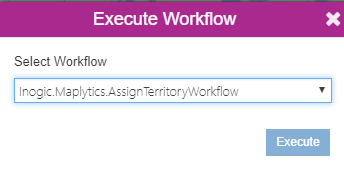
7. Execute Workflow: Quickly Execute On-Demand Workflows in a Single Click
This is a golden opportunity to save time. As workflows allow users to execute a predefined set of tasks to achieve a particular action or goal, using a workflow for multiple records at once proves to be a huge time saver. Users have the ability to select and execute any on-demand workflow with this functionality for the plotted records on the map.
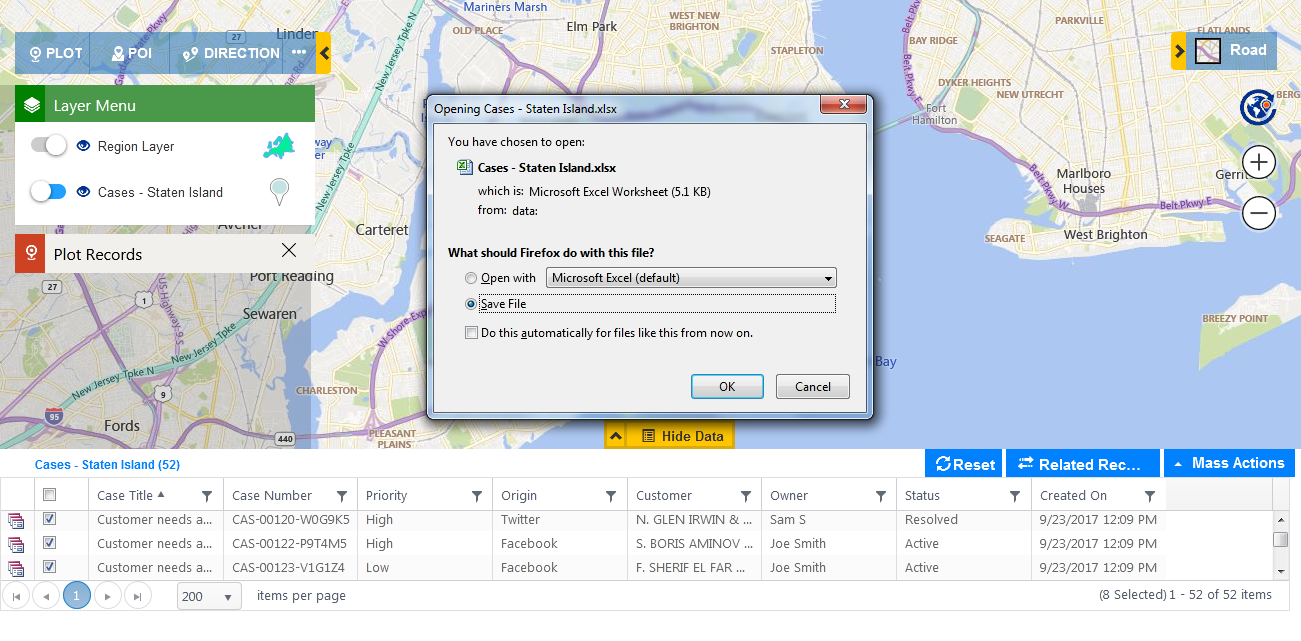
8. Export to Excel: Single Click and Export to Excel
Users have a powerful feature to export data from the map directly into an excel sheet. Users can directly save it on their machine and open this file. This makes it much easier when they want to create a report of their analysis using Maplytics. This opens the door for a seamless transition between geo-analysis to strategic decisions being compiled, presented and executed.
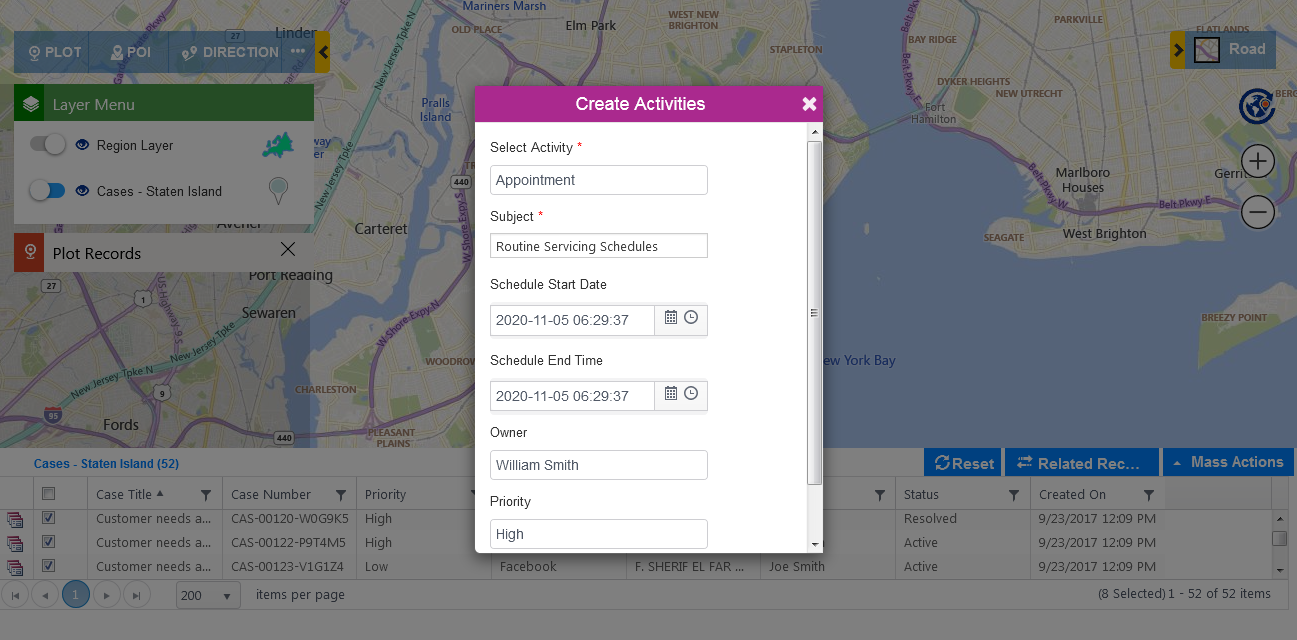
9. Add Task: Click Once to Create Multiple Activities
Creating activities in bulk is straightforward and simple using Mass Actions. Various activities can be created like Appointments, Tasks, Phone Calls, etc. using the Mass Actions Create Activities. Users simply have to plot the records for which they want to create activities, select the activity they would like to create and define the fields like the Activity, Subject, dates, Owner (User/Team), etc. Once all these fields are filled, users can create activities for multiple records that are plotted at once.
10. Associate Records: Associate all Required Records with One-Click
Users can associate a record with the plotted record(s) on the map by choosing an Association Relationship with those records.
To do this, user needs to open the map using ‘Map’ button on the record they want to associate. In the below screenshot we have opened map from an Account.
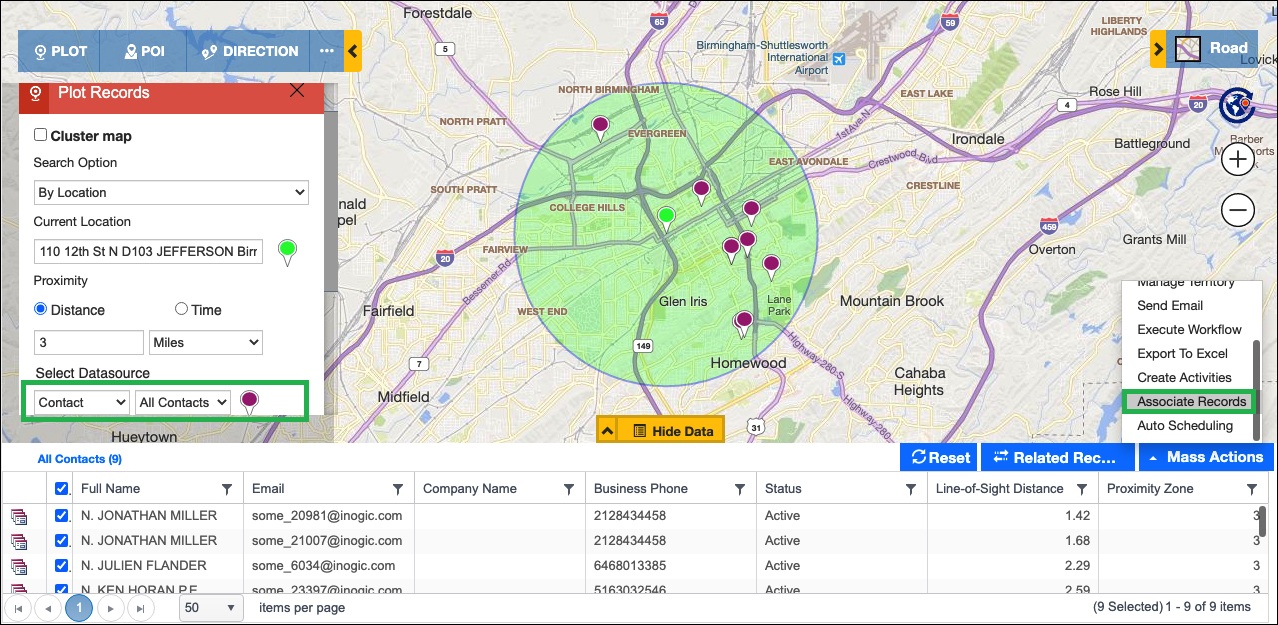
Once the map is opened, plot the required Entity & View to associate the Account. Now, click on ‘Mass actions’.
In the below screenshot, we have plotted Contacts on the map using Proximity Search.
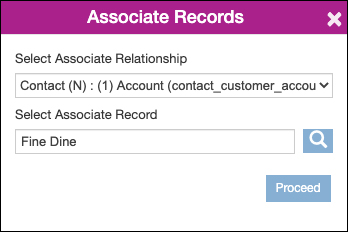
Within Mass Actions, click on ‘Associate Records.’ As shown below, the relationships between both of the entities, the records plotted and the record from which the map has been opened will be listed. Users can select the relationship through which they want to associate the records. Here, the record from which the map was opened has been selected by default. Users can also select another record as per their requirement to associate with the plotted records.
Note: This option will be visible only if the map has been opened using map button on a record.
11. Schedule Appointment: One-Click to Create Automated Schedules for a Single Field Rep or Your Entire Team
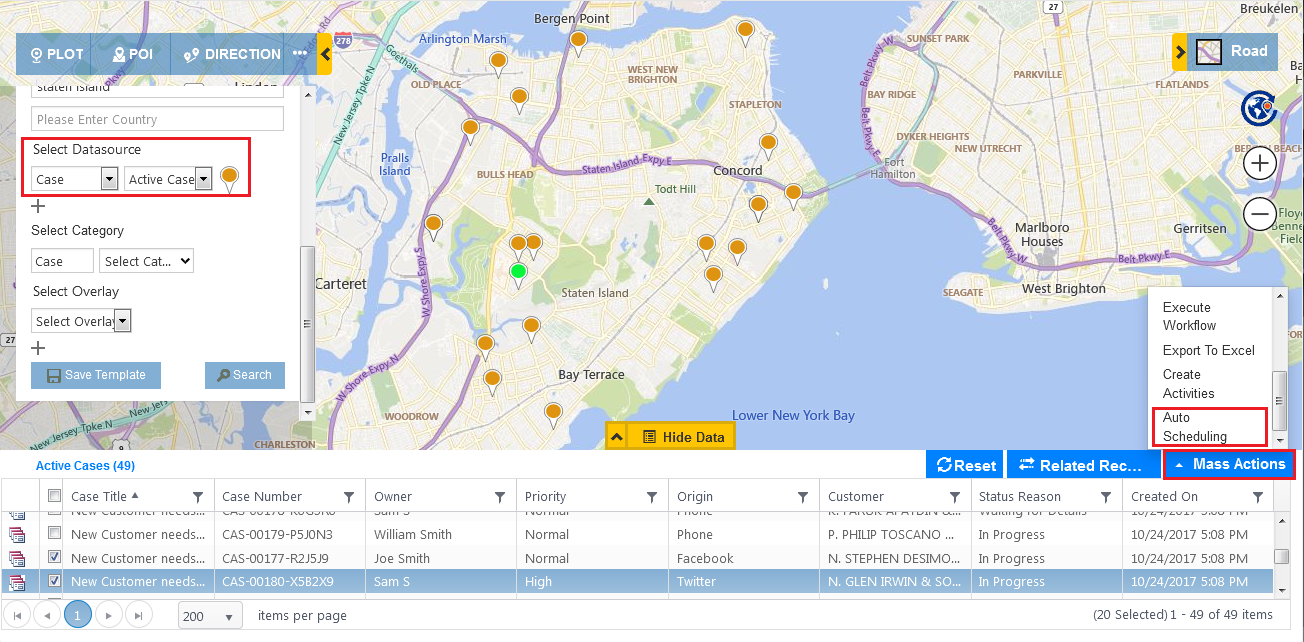
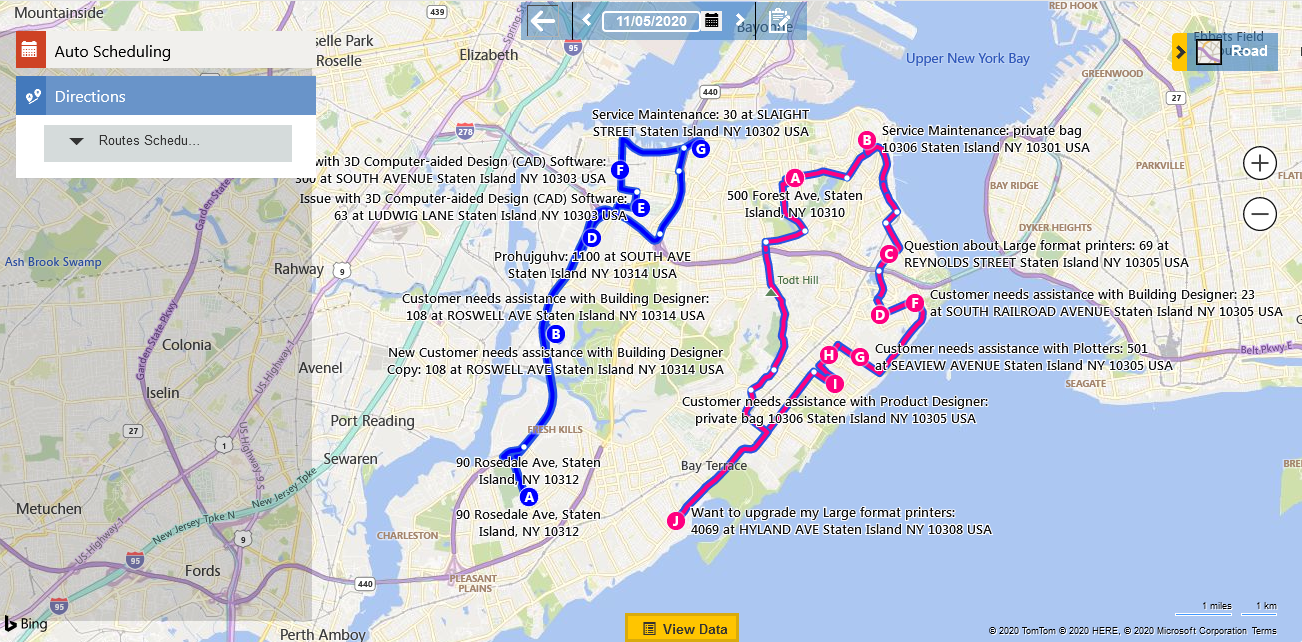
This is a game-changer for managers and companies with majority on-field operations. With Maplytics, managers can plot the clients/appointments which need to be met by the field reps on the map that spans over a geographical region. Once plotted, they can easily use the Mass Actions and create an Automated Schedule for their field reps which they can follow over a span of days. Managers can also create an Automated Schedule for multiple field reps at once.
These quick and hassle free methods are some of the examples of how operational heads can save their time from repetitive and tedious activities, Employing the automation and intelligence of one-click bulk actions is bound to accelerate execution time and save valuable time for bigger decision making activities.
If you too would like to reap the map-smart benefits of our mass actions to cut down operational costs and increase your efficiency, you can get a hands-on experience of these features by downloading our 15 days free trial from Microsoft AppSource or our Website. Alternatively, you can even get a free demo from our team to get a fuller understanding of how Maplytics would fit into your organization –simply drop us a mail at crm@inogic.com to get started with this today.
Until the next time –keep reading and mass supporting Maplytics!

